

Earn More by Sharing What You Love
Do you create content for developers working with .NET, C#, Java, Python, or Node.js? Turn your expertise into extra income!
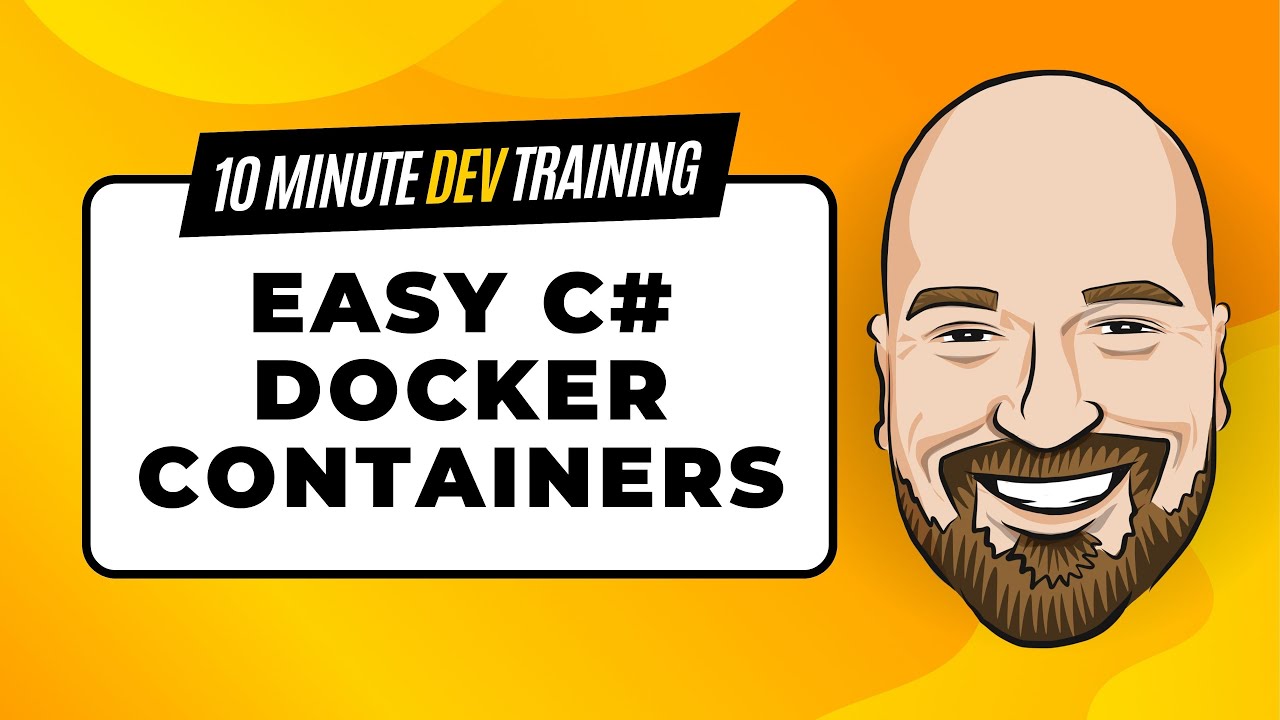
Tim Corey
9m 57s
Containers are a powerful tool, but for many developers, the idea of putting a C# application into a container can feel overwhelming. Setting up a Dockerfile and handling dependencies manually can be complicated. However, as Tim Corey explains in his video, the .NET CLI simplifies this process, allowing developers to containerize their applications without needing a Dockerfile.
In this article, we'll take a deeper look at containerizing a C# application using Tim's step-by-step approach from his video, "Containerize Your C# Application Easily with the .NET CLI." By following Tim's guidance, we'll understand how to publish a .NET application into a Docker container effortlessly.
At the beginning of the video, Tim explains the need for containerization. He highlights that while containers are a great tool, the process of setting up a Dockerfile and configuring it correctly can be complex.
Instead of manually creating a Dockerfile, Tim introduces an easier approach using the .NET CLI. This method allows developers to create a containerized application without writing a Dockerfile manually.
Tim also clarifies that this video is part of his 10-minute training series, which focuses on quick and effective introductions to technical topics.
Tim begins by using a minimal Web API application as an example. The application contains a single endpoint called /messages, which returns some data.
To demonstrate the application's behavior before containerization, Tim runs it locally. By accessing the /messages endpoint, he confirms that it works correctly outside a container.
Before proceeding with containerization, he also checks that:
This ensures that when a new container is created, we can clearly see the changes.
To containerize the application, Tim moves to the command line within the project directory. He then runs the following command:
Tim breaks down each part of the command:
-o:Linux → Publishes the application for a Linux-based container.-a:x64 → Specifies the architecture as 64-bit.-p:PublishProfile=DefaultContainer → Uses the default container settings.-c:Release → Publishes the app in release mode for better performance.Tim emphasizes that Linux containers are preferred over Windows containers because Windows containers mainly serve as a bridge for .NET Framework applications.
Once the publish command is executed, Tim explains that the .NET CLI will automatically determine the necessary configurations and package everything into a container. He points out that:
After publishing, he checks Docker Desktop and confirms that the new container image, background-demo, has been created. The initial container size is 221 MB.
Tim reassures viewers that this size can be reduced later.
To test the containerized application, Tim starts the container directly from Docker Desktop. Since there are no running containers yet, he clicks "Run" and sets an optional setting:
After launching, he accesses the application using a web browser. Initially, accessing the root URL gives a 404 error, but navigating to /messages successfully displays the expected data.
Tim highlights an important point:
He also notes that since the application was published in release mode, Swagger UI is disabled by default.
At this point, the default container size is 221 MB, which Tim acknowledges as quite large. To reduce the size, he introduces a lighter base image.
By modifying the Program.cs file, he sets the container family to jammy-chiseled, a smaller Ubuntu-based image:
builder.Services.Configure<ContainerOptions>(options => options.ContainerFamily = "jammy-chiseled");builder.Services.Configure(Of ContainerOptions)(Sub(options) options.ContainerFamily = "jammy-chiseled")He then reruns the publish command, and after rebuilding the container, he checks the image size again.
The new image size is 113 MB - a reduction of about 100 MB! Despite the smaller size, the application functions identically.
Tim demonstrates deleting the container to clean up the workspace. However, the Docker image remains available, so the container can be recreated if needed.
He emphasizes that once the container is built, it can be:
Tim wraps up the video by reinforcing the key benefits of using the .NET CLI for containerization:
jammy-chiseled reduces container size.Tim's approach to containerizing C# applications with the .NET CLI is simple, fast, and effective. By following his method, developers can create and optimize containers without needing extensive Docker knowledge.
By leveraging Linux containers, optimized base images, and streamlined publishing commands, this technique allows developers to efficiently containerize their applications with minimal effort.
If you want to dive deeper, be sure to check out Tim Corey's video. It provides a clear, step-by-step walkthrough of the entire process.
Do you create content for developers working with .NET, C#, Java, Python, or Node.js? Turn your expertise into extra income!
Join our newsletter, you’ll get exclusive access on article updates. We value your privacy

